
Gimp Tips - Pseudo-Comic Book
Here's a way to make a photograph look kind of like a comic book panel. It doesn't create a real halftone pattern but it gives that kind of look and is easy to do. So easy, in fact, that I have made a script to do it for you. So you can follow the steps below, or just put that script file in share/gimp/2.0/scripts and run Script-Fu|Matt|Pseudo Comic.
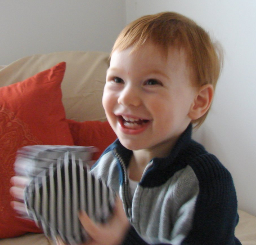 Here's the picture I'll be working with.
 Real life is grayer that comic books, so the first thing to do is to turn
the saturation up about 50 or 60.
Real life is grayer that comic books, so the first thing to do is to turn
the saturation up about 50 or 60. Duplicate the layer and on the new top one do Colors|Desaturate using
Luminosity. Duplicate that layer. Now you should have one color layer on
bottom and two grayscale layers on top of it.
Duplicate the layer and on the new top one do Colors|Desaturate using
Luminosity. Duplicate that layer. Now you should have one color layer on
bottom and two grayscale layers on top of it.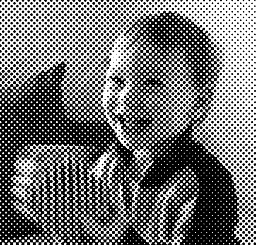 On the middle layer do Filters|Distorts|Newsprint. Select CMYK. I prefer to
use the "PS Square (Euclidean Dot)" spot function. You can set that on the
black tab. Adjust the cell size to get a dot density that you like. Set
the oversampling to 4 or 5.
On the middle layer do Filters|Distorts|Newsprint. Select CMYK. I prefer to
use the "PS Square (Euclidean Dot)" spot function. You can set that on the
black tab. Adjust the cell size to get a dot density that you like. Set
the oversampling to 4 or 5.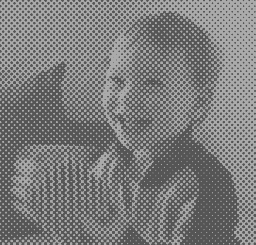 Use Colors|Levels and set the output levels to 85 to 171.
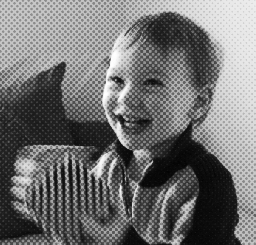 Go to the top layer and set its mode to "Hard light". Merge that layer
down into the halftoned one.
Go to the top layer and set its mode to "Hard light". Merge that layer
down into the halftoned one.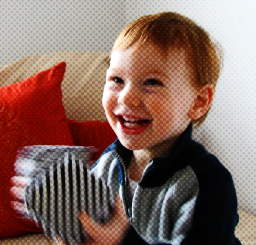 Set the mode of that newly merged layer to "Soft Ligt" and merge it down.
You should now have one layer with a dotted color picture.
Set the mode of that newly merged layer to "Soft Ligt" and merge it down.
You should now have one layer with a dotted color picture.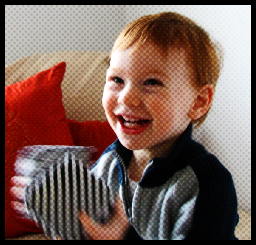 Add a border to make it look like it's off a comic book page. I did
Select|All, Select|Shrink (by 5 in this case, but it depends on your image
size), Select|Invert, and then bucket filled the selection with black.
Add a border to make it look like it's off a comic book page. I did
Select|All, Select|Shrink (by 5 in this case, but it depends on your image
size), Select|Invert, and then bucket filled the selection with black. Add text boxes or speech bubbles to really make it look like a comic
book.
Add text boxes or speech bubbles to really make it look like a comic
book.